Top Ten Best Places in Gansu
If you’re looking to truly get away from China's mega-cities to have a genuine adventure, experience a melting pot of cultures and traditions, and see [...]
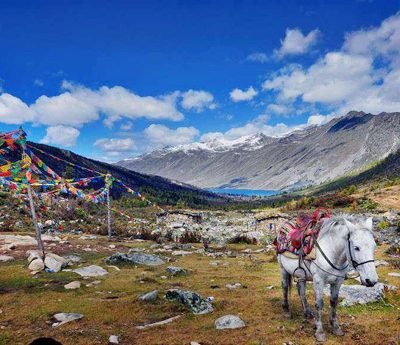
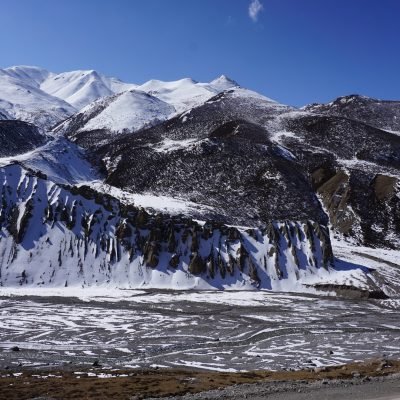
Top Ten Best Treks in Tibet
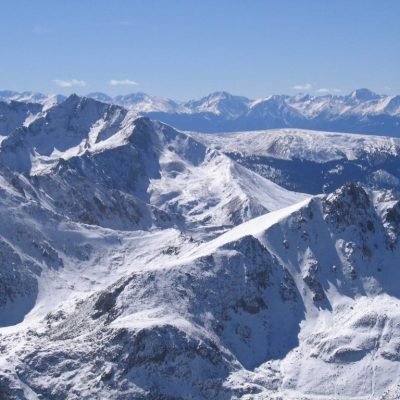
The Tibetan Plateau covers an area that is 4 times bigger than France. With an average elevation over 4,500m (14,800 ft) this high plateau is [...]
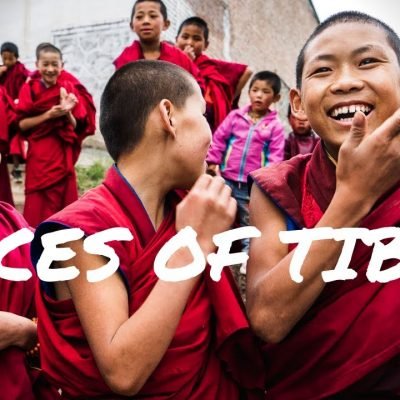
Faces of Tibet Video
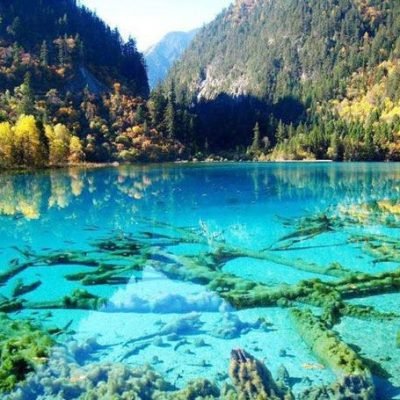
Jiuzhaigou National Park
Jiuzhaigou is home to nine Tibetan villages and that is where it's Chinese name, 九寨沟 ,comes from. Jiuzhaigou is a nature reserve and national park located in the [...]
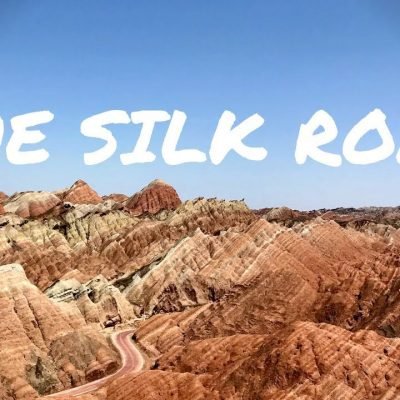
The Silk Road of Zhangye Video
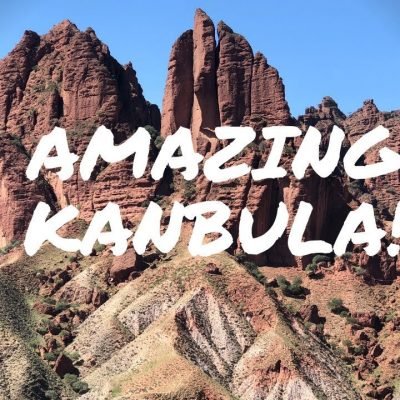
Amazing Kanbula Video

Prayers in the Plateau with VSA Hong Kong
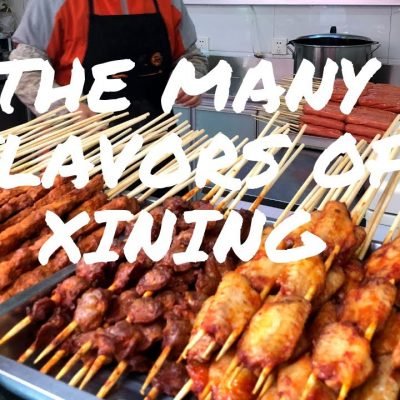
The Many Flavors of Xining Video
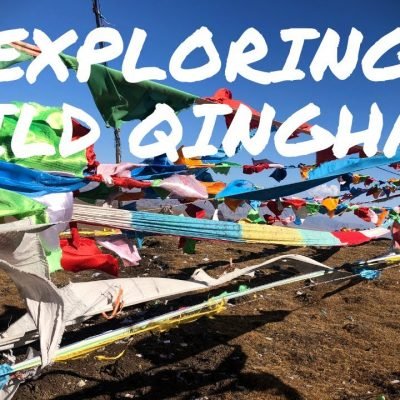
Exploring Wild Qinghai Video
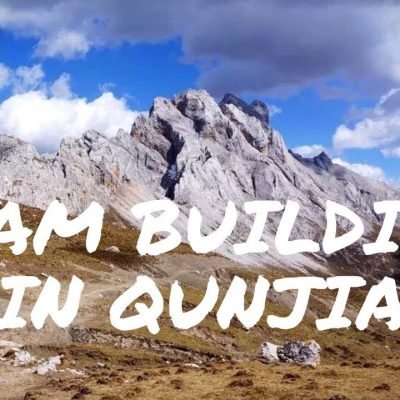
Team Building in Qunjia National Park Video
Outdoor Classroom Team building 户外团队建设课程
Introduction 介绍 Team building through “experiential education” is an exciting way of discovering human potential and the larger world around us. In today’s modern, fast [...]
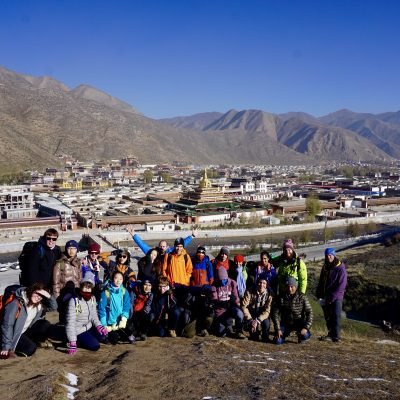
The British School of Nanjing, Qinghai and Gansu Trip Video
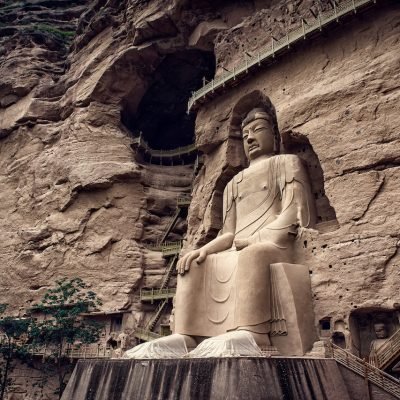
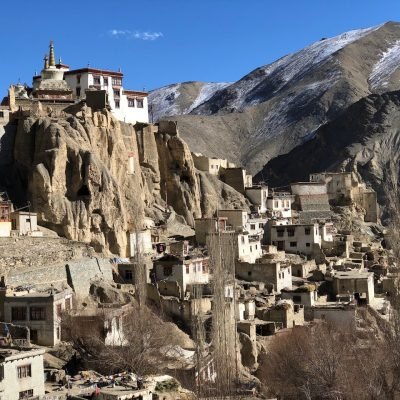
Bingling Temple
The Bingling Temple (simplified Chinese: 炳灵寺; pinyin: Bǐnglíng Sì) is a series of grottoes filled with Buddhist sculptures carved into natural caves and caverns in a canyon along the Yellow River. It lies [...]
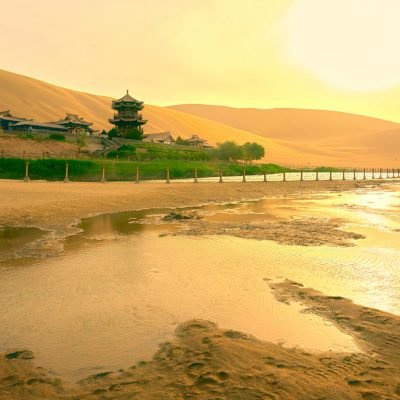
Dunhuang
Dunhuang is a Silk Road trading town that offers vast stretches of open desert, camel rides, a great walking night market, and the Mogao Cave [...]
Top Ten things that a foreigner should know when visiting Tibet
How can foreigners show honor to Tibetan culture through our actions and behaviors in a place that is not our home? Tibetan culture has thousands [...]
What exactly is team building?
Introduction Team building through “experiential education” is an exciting way of discovering human potential and the larger world around us. In today’s modern, fast paced, [...]
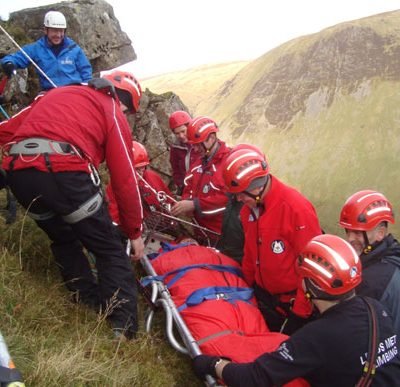
The six most common wilderness injuries that you should know how to treat
Whether you are a day hiker or you are out on a 30 day expedition in Alaska, you need to know the six most common [...]
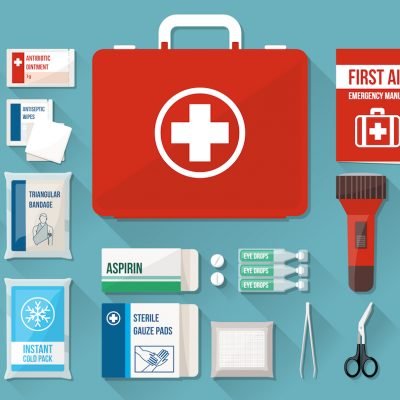
What do you need in your First Aid Kit?
As you travel to remote places it is super important to be prepared for emergencies, especially when you are far away from advanced medical care. [...]
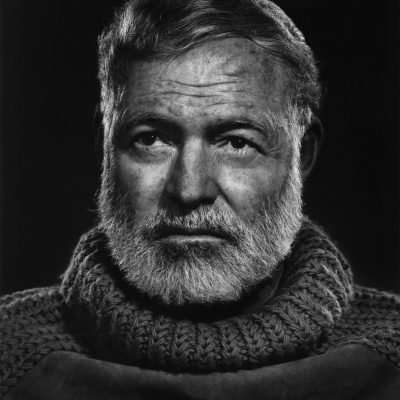
10 Most Legendary (And Infamous) Travelers In History
“If you’re twenty-two, physically fit, hungry to learn and be better, I urge you to travel – as far and as widely as possible. Sleep [...]
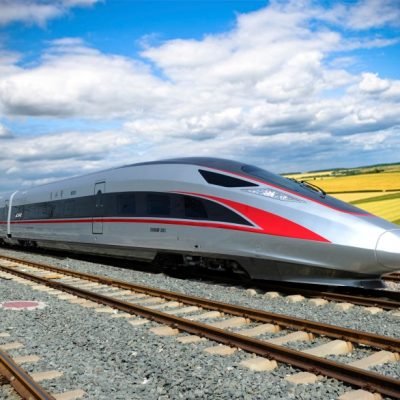
Taking the Train in China: What You Can Expect
Taking the train in China can be a wonderful and exciting process and is a great way to see the countryside if you have the [...]
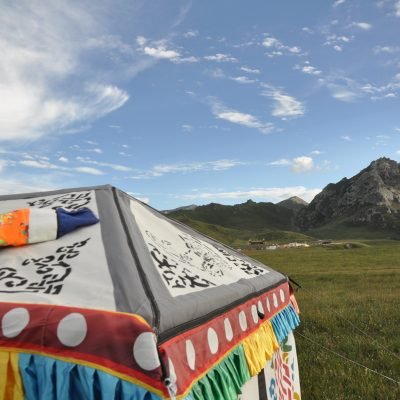
What is it like to sleep in a Tibetan nomad tent?
For those looking for adventure and to experience the authentic life of the Tibetan Plateau, this is your once-in-a-lifetime chance. Sleep in a high altitude [...]
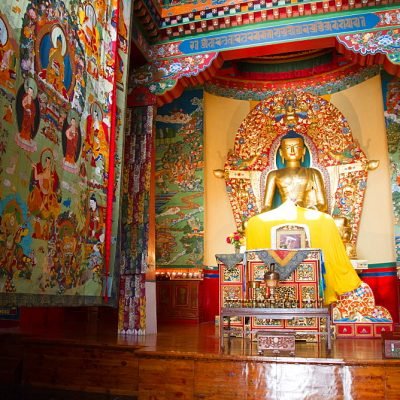
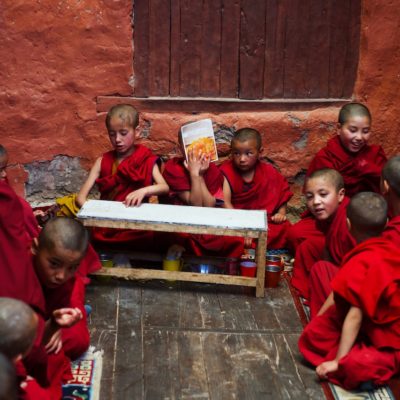
What does the inside of a Tibetan monastery look like?
Find out what the inside of a monastery is really like.
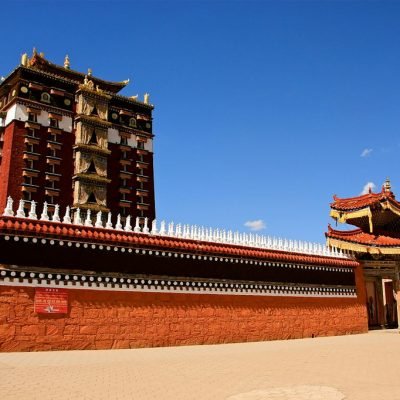
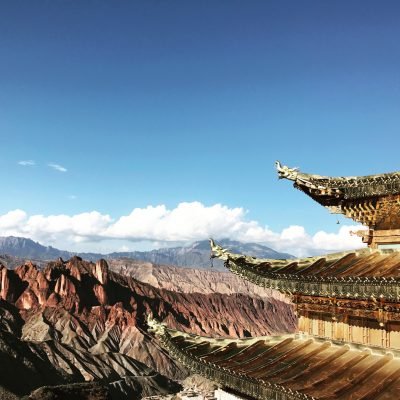
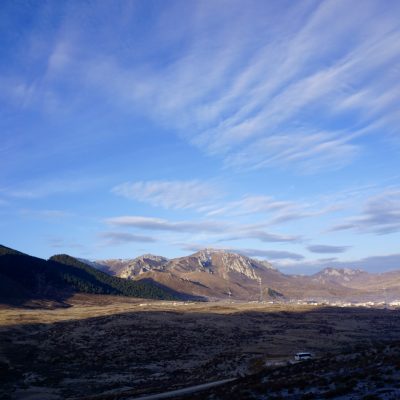
Hezuo
Hezuo is a town in Gansu Province. It is also the capital of Gannan Tibetan Autonomous Prefecture and it is known as a gateway into [...]

Lijiang
Once a major stop on the former Tea Horse Road, Lijiang is teeming with beautiful landscapes, deep history, and rich Naxi culture. Most adventures in [...]
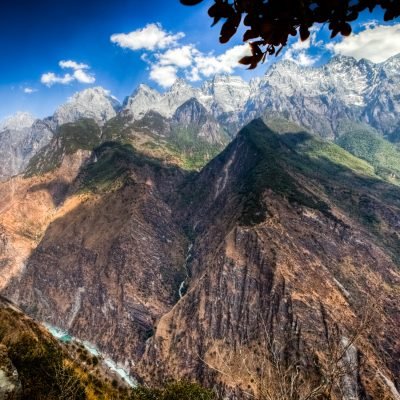
Tiger Leaping Gorge
The Tiger Leaping Gorge trek (虎跳峡; Pinyin: Hu Tiao Xia), near Lijiang in Yunnan, is one of the finest treks through some of the most naturally beautiful [...]
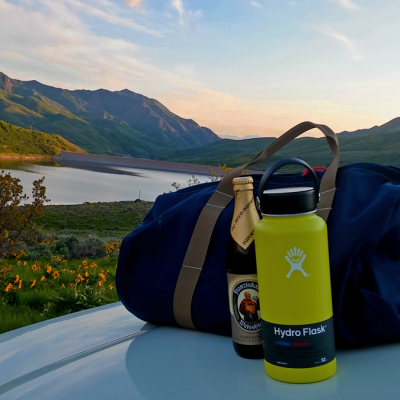
Win a brand new HYDRO FLASK!
I have trekked all over Tibet with my Hydro Flask! I have dropped it down canyons and kicked it over so many times and there [...]
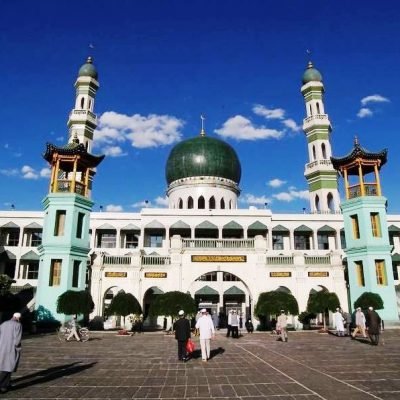
Islam in Western China
Most people do not realize that there are over 20 million Muslims in western China. Of the 56 recognized ethnicities in China, 10 of these [...]
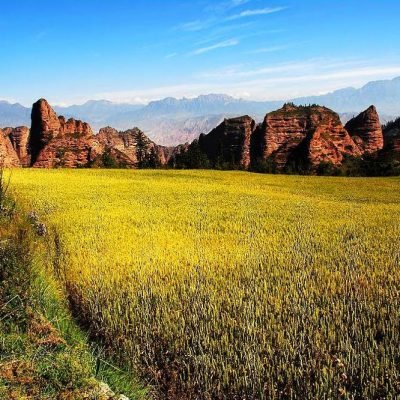
Kanbula National Park
Kanbula National Park is like a mini Grand Canyon with soaring Red Rock Cliffs and perfect hikes winding through the canyon walls overlooking the Yellow [...]
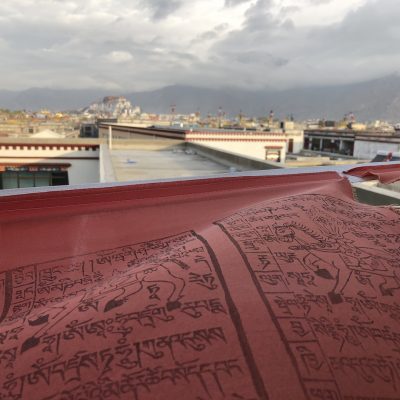
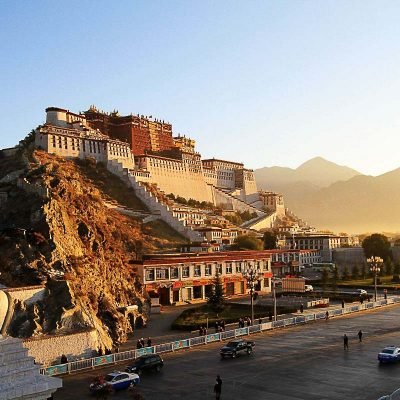
The Potala Palace
The Potala Palace (on the north side of Lhasa, Tibet) is the massive fortress-like building that is often depicted in the classic photographs of Lhasa. [...]
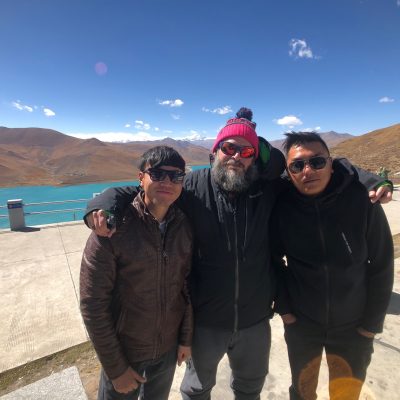
Lhasa
Lhasa (Chinese Name: 拉萨 (lā sà) is the capital and largest city in Tibet. Founded in the 5th century and largely closed to foreigners until [...]
The Complete Packing List for Mount Kailash
Here is what you really need (and what you don't) when you are packing for your trip to Mount Kailash!
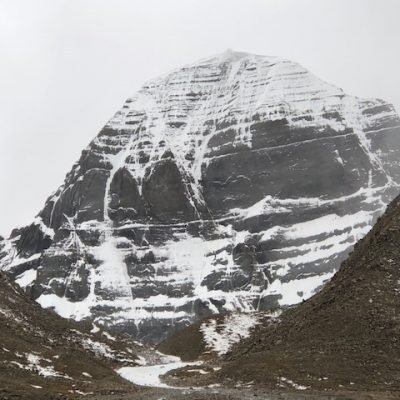
Trekking Mount Kailash
Mount Kailash, in the Himalayas of western Tibet, is the holiest mountain in the world as measured by the number of people who worship at [...]
Exploring Wild Qinghai
Discover one of western China's off the beaten path destinations and come explore Qinghai Province for clean air, open skies, and unclimbed mountains as far [...]

This Chinese Grandma is Blowing Everyone’s Mind!
Meet Ms. Qi, a 73-year-old Chinese backpacker who has probably visited more epic places than anyone from her younger generation. Qi has already visited the [...]
Seven Incredible Days in Ladakh!
Ladakh, India is an area in the north-east region the Himalayas that borders with Pakistan and China. Being surrounded by the world’s highest mountain ranges, [...]

The Best Snacks of Sichuan
One of the best parts of traveling is that it allows you the opportunity to taste new and diverse foods. Here is a blog for [...]
Chiang Mai, Thailand
Thai hospitality is an art perfected in Chiang Mai, and recent decades have seen the city emerge as one of Asia’s most popular, best value [...]
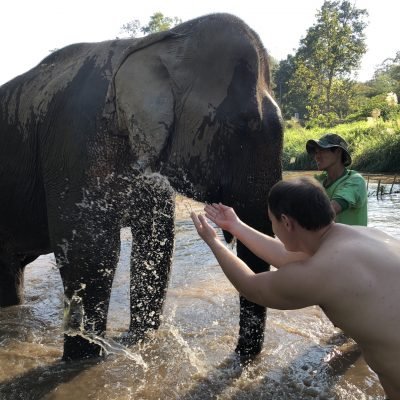
Should I ride an elephant in Thailand?
What is the deal with riding and washing elephants in Thailand? From intricately designed temples to one of Thailand’s most famous beers, elephants in Thailand certainly [...]
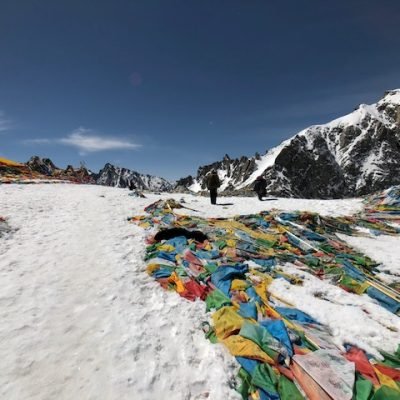
Acclimatization in Tibet
With an average elevation exceeding 4,500 metres (14,800 ft), the Tibetan Plateau is sometimes called "the Roof of the World" because it stands over 3 miles (4.8 [...]
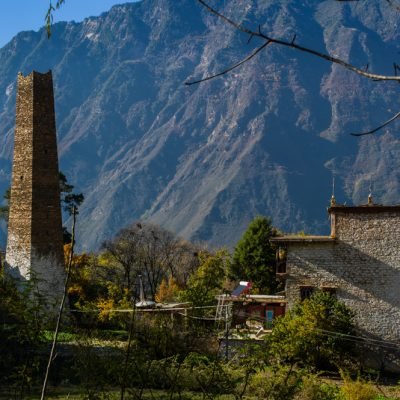
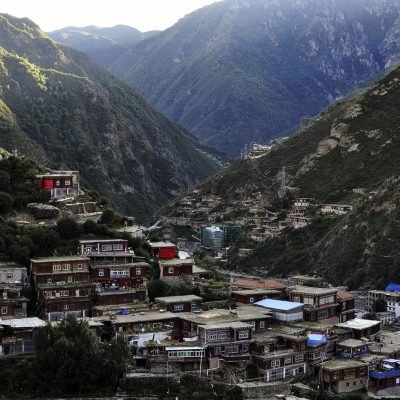
Danba
Danba 丹巴 is a small mountainous Tibetan town in a narrow valley in Ganzi Autonomous Prefecture in western Sichuan Province that is located 450km west [...]
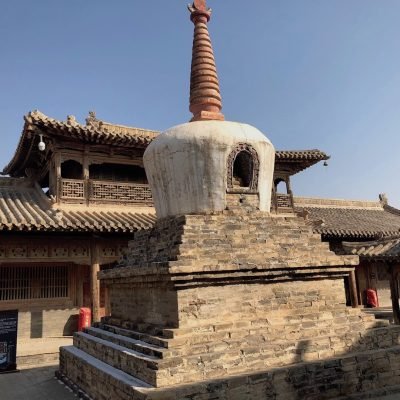
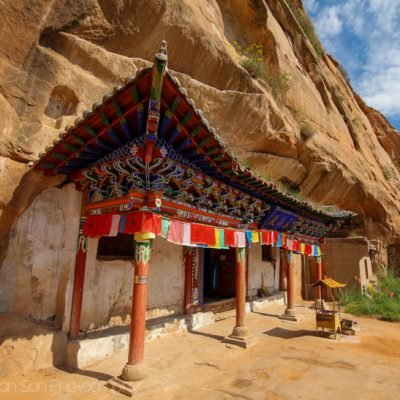
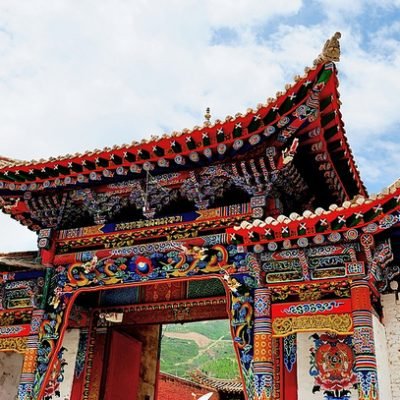
Qutan Monastery – another incredible day trip!
Qutan Monastery is an excellent day trip from Xining, the capital of Qinghai Province. With original stone and wood architecture that is 626 years old [...]
Dawu
Dawu or 大武镇 (in Tibetan known as Maqen) is the capital of Golok, also sometimes spelled "Golog". Golok is the highest area in Amdo Tibet, [...]
Twenty Five Quotes To Inspire You to Get Outside
It's amazing how a little ink can provoke so much thought. Writing can stir us to war or peace. It can make us pause in [...]
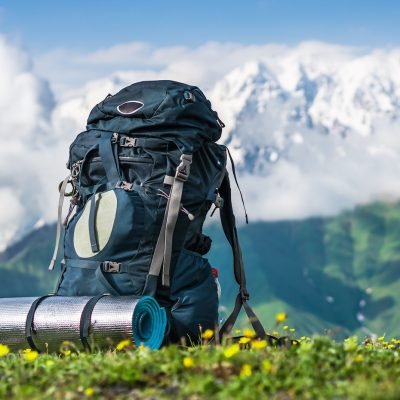
Ten Quick Tips on How to Pack a Backpack
A correctly organized backpack will make your hike even more comfortable. Regardless of how in shape you might be, incorrectly packing a backpack can quickly [...]
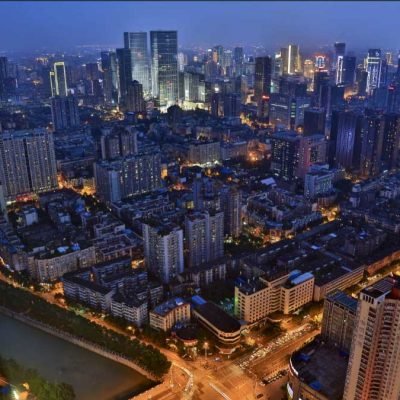
Ten things to know before visiting Chengdu
Home to more than 14 million people and roughly the size of Los Angeles, California, visiting Chengdu is a must for anyone planning to travel [...]
Langmusi (郎木寺) – Taktsang Lhamo (སྟག་ཚང་ལྷ་མོ་)
Located right on the border of Sichuan and Gansu Province, Langmusi is a town that offers two distinct monasteries- one on each side of the [...]
Dege སྡེ་དགེ (德格)
Situated right on the border with the Tibetan Autonomous Region (TAR) , Dege, 德格 in Chinese or in Tibetan སྡེ་དགེ , is the last town in [...]
Watch our new video and see how we roll
Are you curious what kind of stuff we do at Elevated Trips? Watch this fun video to get an insight into our most recent 4 [...]
What is a “DDQ Wild”?
Find out what exactly a "DDQ Wild" is. And how these 5 days in the wilderness might just change your life forever.
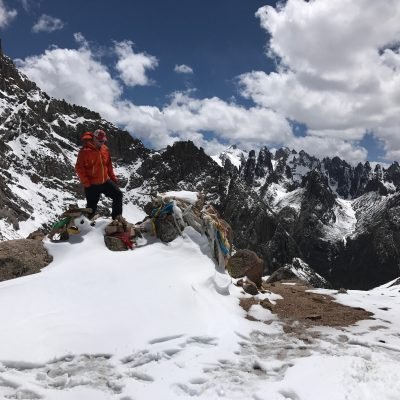
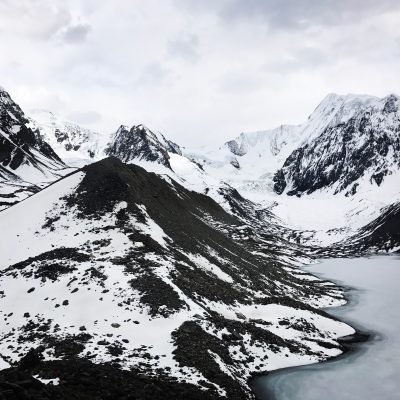
The jagged peaks and alpine lakes of Nyenbo Yurtse
Trek past fields of Edelweiss and yaks grazing near turquoise glacial lakes and discover the dramatic shark tooth peaks of Nyenbo Yurtse. This the home [...]
Six days of trekking bliss on Minya Konka
Minya Konka, or Mount GongGa, is the highest peak in Sichuan Province at 7,556 m (24,790 ft). This also gives it the distinction of being the 41st [...]
The ABC’s of packing a backpack
Packing for a trip can be stressful. What should I bring? What's the weather like? How many pairs of underwear do I need? Find out [...]
YouNing Monastery – a great day trip from Xining!
Looking for a great day trip from Xining? Get away from the crowds and mass tourism of Qinghai Lake and discover a piece of monastic [...]